
Office Address
Seville, Spain
Seville, Spain
Phone Number
+(34) 624 816 969
Email Address
info@forgenex.com
Available on Google Play

Seville, Spain
Seville, Spain
+(34) 624 816 969
info@forgenex.com


 by ForgeNEX
 Table of contents [Show]
Office automation has evolved beyond simple light switching. With Home Assistant, an open-source platform, it is possible to integrate all IoT devices in your office into a single control panel, enabling intelligent and efficient resource management. In this technical tutorial, we will explore how to implement advanced home automation that not only improves comfort but also optimizes energy consumption and security.
Home Assistant stands out for its ability to integrate more than 2000 devices from different manufacturers, from presence sensors to climate control systems. Its modular architecture allows creating complex automations without deep programming knowledge, although it also offers an API for developers seeking full customization.
Before starting, it is essential to have adequate hardware. We recommend a Raspberry Pi 4 (4GB or 8GB) or a dedicated server, along with a Zigbee or Z-Wave hub to connect wireless devices. For installation, you can opt for the Home Assistant OS, which includes everything needed, or install it on Docker on an existing Linux system. If you prefer a cloud solution, check our Cloud Services section for hosting options.
Once installed, configure the network and user permissions. It is crucial to assign a fixed IP and enable two-factor authentication to protect access, as mentioned in our article on MFA under siege.
The key to advanced home automation is the integration of multiple devices. For an office, the most useful are:
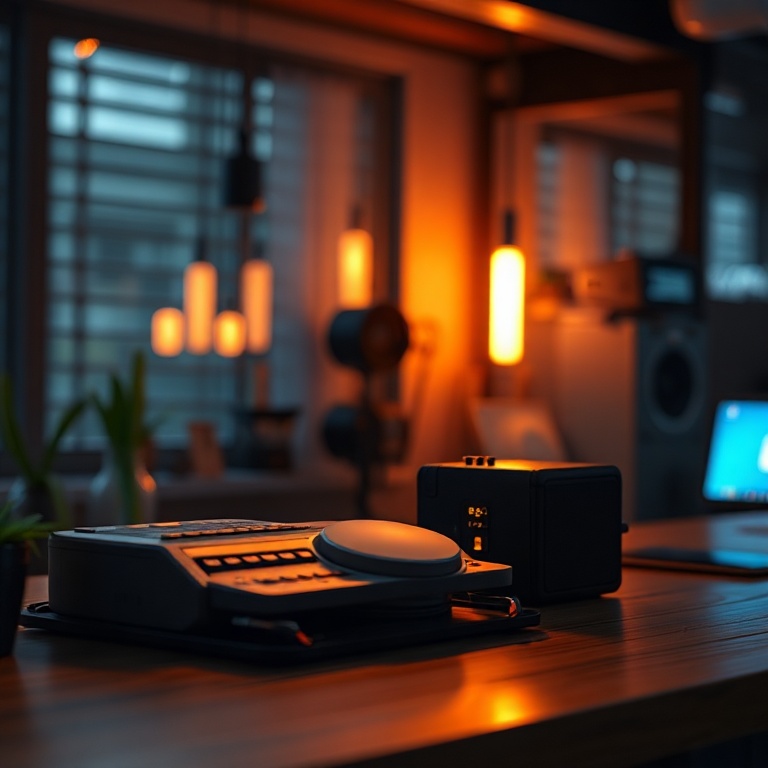
Home Assistant allows adding these devices through native integrations or through add-ons like Zigbee2MQTT. In the following image, you can see an example of device integration in the Home Assistant panel:
To configure each device, go to Configuration > Devices & Services and search for the manufacturer. Most integrations are automatic; you only need to put the device in pairing mode and follow the steps.
Automations are the heart of home automation. With Home Assistant, you can create rules based on conditions and actions. For example:
To create an automation, go to Configuration > Automations and use the visual editor. For example, an automation to turn off lights when leaving the office could be:
trigger: - platform: time; at: '18:00'
Then, add conditions such as no presence in the rooms. As in the success case documented in our blog Advanced Home Automation with Home Assistant for Offices, these automations can reduce energy consumption by up to 30%.
Home Assistant offers a customizable control panel with charts and statistics. You can create dashboards to monitor real-time electrical consumption, temperature of each room, or door status. For advanced observability, integrate Home Assistant with tools like Grafana or InfluxDB, as explained in our Automation and observability category.

Observability is essential to identify inefficiencies and make data-driven decisions. For example, you can detect which equipment consumes the most energy during non-working hours and schedule their automatic shutdown.
The security of your home automation system is critical. Make sure to:
These practices are similar to those recommended in our article on solid defense against attacks. Additionally, you can integrate Home Assistant with surveillance systems for automatic incident response.
Advanced home automation with Home Assistant transforms a traditional office into an intelligent, efficient, and secure space. With the tools and steps described, you can implement solutions that not only improve employee experience but also reduce operational costs. Explore more guides in our Guides and Tutorials section and share your results with our community.
