Office Address
Seville, Spain
Seville, Spain
Phone Number
+(34) 624 816 969
Seville, Spain
Seville, Spain
+(34) 624 816 969


 by ForgeNEX
 Something happened to me yesterday that probably sounds familiar. I'm on a video call in Teams. "I just sent you the budget," they say. I minimize the window. Where was it sent? In the Teams chat? I check. Nope. "Did you upload it to the channel?" Not there either. "Oh, no, sorry, I left it in your OneDrive." I open my browser, go to my OneDrive. Still not there. "Of course! It's a file from the Marketing team, it's in their SharePoint."
By the time I found the file, five minutes had passed, and I had forgotten what the meeting was about.
This is the reality for many companies using Microsoft 365. We have the best collaboration suite on the market, but we use it as if it were three separate applications: Teams for talking, OneDrive for my files, and SharePoint for the company's files. The result is a digital mess where no one knows where the final version of anything is.
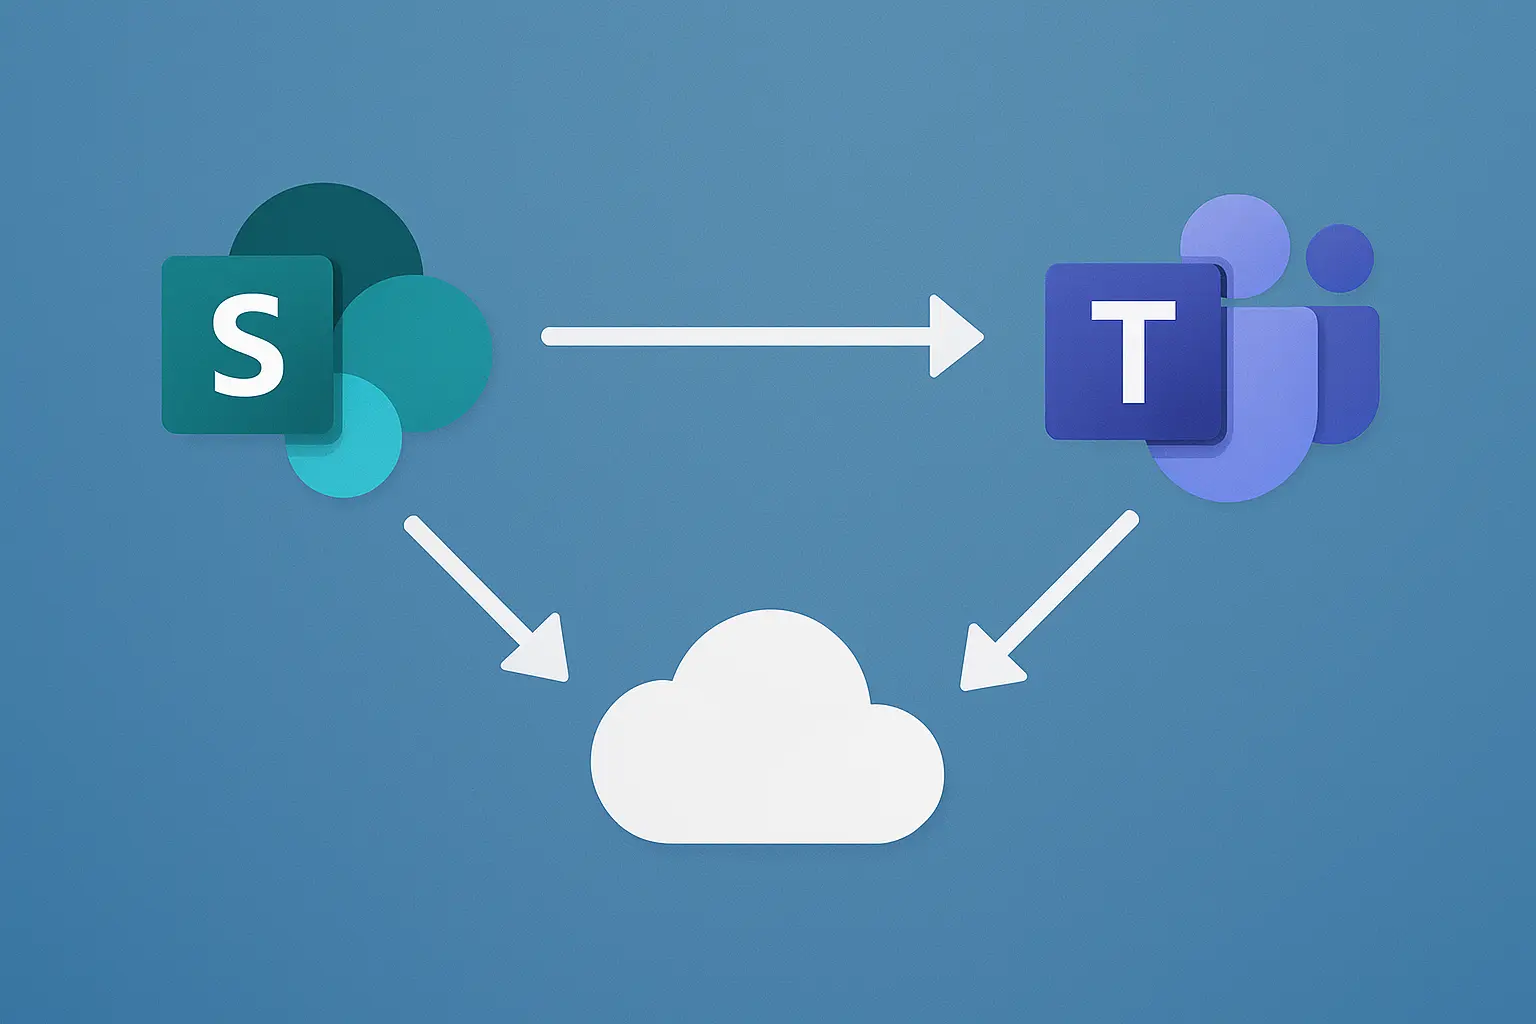
The magic of Microsoft 365 isn't in using these tools separately, but in understanding that they are the same thing viewed from different windows.
Teams is not (just) a chat. It's the interface for your digital office. And that office is built on the foundation of SharePoint. And your personal desk in that office is OneDrive.
Today, we're going to make all of this work together. We will learn how to sync your SharePoint folders (your team's folders) and your OneDrive folders directly into your Windows File Explorer (or Finder on Mac), all managed from Teams.
The goal: to be able to open, edit, and save any of your company's files from the folders on your PC, knowing that they are being automatically synced for everyone else.
Let's dive in.
Table of contents [Show]
Before touching any buttons, let's clarify this, as it's the key to everything:
What we want to do is have "shortcuts" to both your desktop (OneDrive) and the team's warehouse (SharePoint) on your computer.
This is usually the easiest part, and most people already have it configured when they log into Windows with their company account. But just in case:
[email protected]).Result: You now have a folder in your File Explorer called "OneDrive - [Your Company Name]" with all your personal work files. Easy.
Here's the trick that changes the game. You want the "Contracts" folder from the "Legal" team or "Projects 2025" from the "Engineering" team to appear on your PC.
Don't go to SharePoint to look for it. Go to Teams, which is where you work.
Step 1: Go to the Teams channel
Open your Microsoft Teams application. Go to the Team and the specific Channel whose file folder you want to have on your computer. For example: "Marketing" Team, "General" Channel.
Step 2: Go to the "Files" tab
Within the channel, click on the "Files" tab. You'll see the list of folders and documents your team shares there.
Step 3: The "Sync" (or "Add shortcut") Button
Here you have two options that have changed names with Microsoft updates, but they do similar things:
Which one to choose? Microsoft is pushing Option A ("Add shortcut") because it's cleaner for the user. My advice is to use that one. If you don't see it, use Option B ("Sync"). Both achieve the goal.
"But wait," you might say, "the Marketing team has 500 GB of videos, and my laptop only has a 256 GB drive. Is it going to download everything?".
No. And this is the magic.
Both OneDrive and SharePoint sync use a feature called "Files On-Demand".
When you sync a library, look at the icons that appear next to your files in Windows Explorer:
My advice: Sync all the libraries you need. By default, they will be "cloud-only" and won't take up space. Then, only mark as "Always keep" those vital folders or files you are actively working on.
By setting this up, you have gone from having three disconnected sites to having a single "source of truth" directly in your File Explorer.
You can be at your desk, open the "Projects 2025" folder (which lives in SharePoint), edit an AutoCAD drawing or a complex Excel file, save it, and know that your colleague, who is in Teams, will see the new version instantly.
No more "where is the file?", "I'm sending you v3_final_final2," or "wait, I'm uploading it." Technology, finally, works for you and not the other way around. It's a small configuration change that has a huge impact on your daily productivity.